As the world of online content creation grows, more and more gamers are beginning to dive into the exciting realm of streaming. What started out as a niche hobby has now become a booming industry, with popular streaming platforms like Twitch and YouTube Gaming drawing in millions of viewers every single day.
Starting your streaming journey can be exhilarating—and overwhelming. But the good news is that streaming is now easier than ever. Because of free or accessible software, robust equipment, and an ever-growing audience hungry for content, the dream of many gamers—to turn their passion into a career—is not just a pipe dream.
In this guide, we’ll walk you through everything you need to know about starting your own streaming journey: from choosing the right platform and setting up your gear, to crafting an engaging personality and building an audience. Whether you’re just looking to stream casually or planning to take it to the next level professionally, this guide is for you.
Step 1: Choose Your Streaming Platform
The first step in starting your streaming journey is selecting a good platform to stream on.
There are many platforms available for streamers to choose from, each possessing their own unique benefits. Examples of some of the more popular platforms include Twitch, YouTube Gaming, Kick, and more. Before you select a platform, it’s important to do your own research into what these platforms offer. Once you get a better picture of your available options, you’ll be better equipped to decide on a streaming platform that better aligns with your own streaming needs and goals.
Here are some important factors to consider when choosing your platform:
- The audience size of the platform
- The monetization options available
- The type of content you plan to stream and whether it’s popular on the platform
If you’re still struggling to decide, it may be helpful to engage with these platforms as a viewer first—not just to get a better sense of how your future streaming peers operate, but also to better understand the types of people and communities that exist on each platform.
And finally, don’t be afraid to experiment! You’re not locked into one platform forever; you can always switch if you realise that another service is a better fit for you. Some streamers even use multiple platforms, like streaming live on Twitch and then uploading VODs or supercuts on YouTube for additional reach and discoverability.
Step 2: Set Up Your Streaming Software
Setting up your streaming software properly is an essential step that cannot be skipped. The right setup will ensure that your stream runs smoothly, and that’s going to allow you to focus on what really matters—having fun and connecting with your audience.
The perfect starting point is Open Broadcaster Software (OBS), a free, open-source, and highly customizable, which makes it a favourite among both beginners and veterans. Its user-friendly interface allows you to control many aspects of your stream, from video and audio settings to scene transitions—with a much gentler learning curve compared to more complex tools. OBS also supports a wide selection of plugins, which will let you add everything from live alerts to custom overlays for your stream.
For specific instructions on how to get started with OBS, there are many guides available on YouTube. Other than that, remember to adjust your configurations before streaming. For resolution and frame rate, most streamers opt for 720p or 1080p to start off with, with 30 or 60 FPS. Your bitrate will be based on your internet speed; typically, 2,500 to 3,500 kbps will work well for most connections. And, last but perhaps most importantly, remember to test your audio levels to check if your mic volume and in-game sounds are appropriately balanced. Most streamers ask their audience for real-time feedback when adjusting their audio, so don’t be afraid to do so!
Once you have OBS set up and ready, it’s time to move onto the next step.
Step 3: Craft Your Stream Aesthetic and Brand
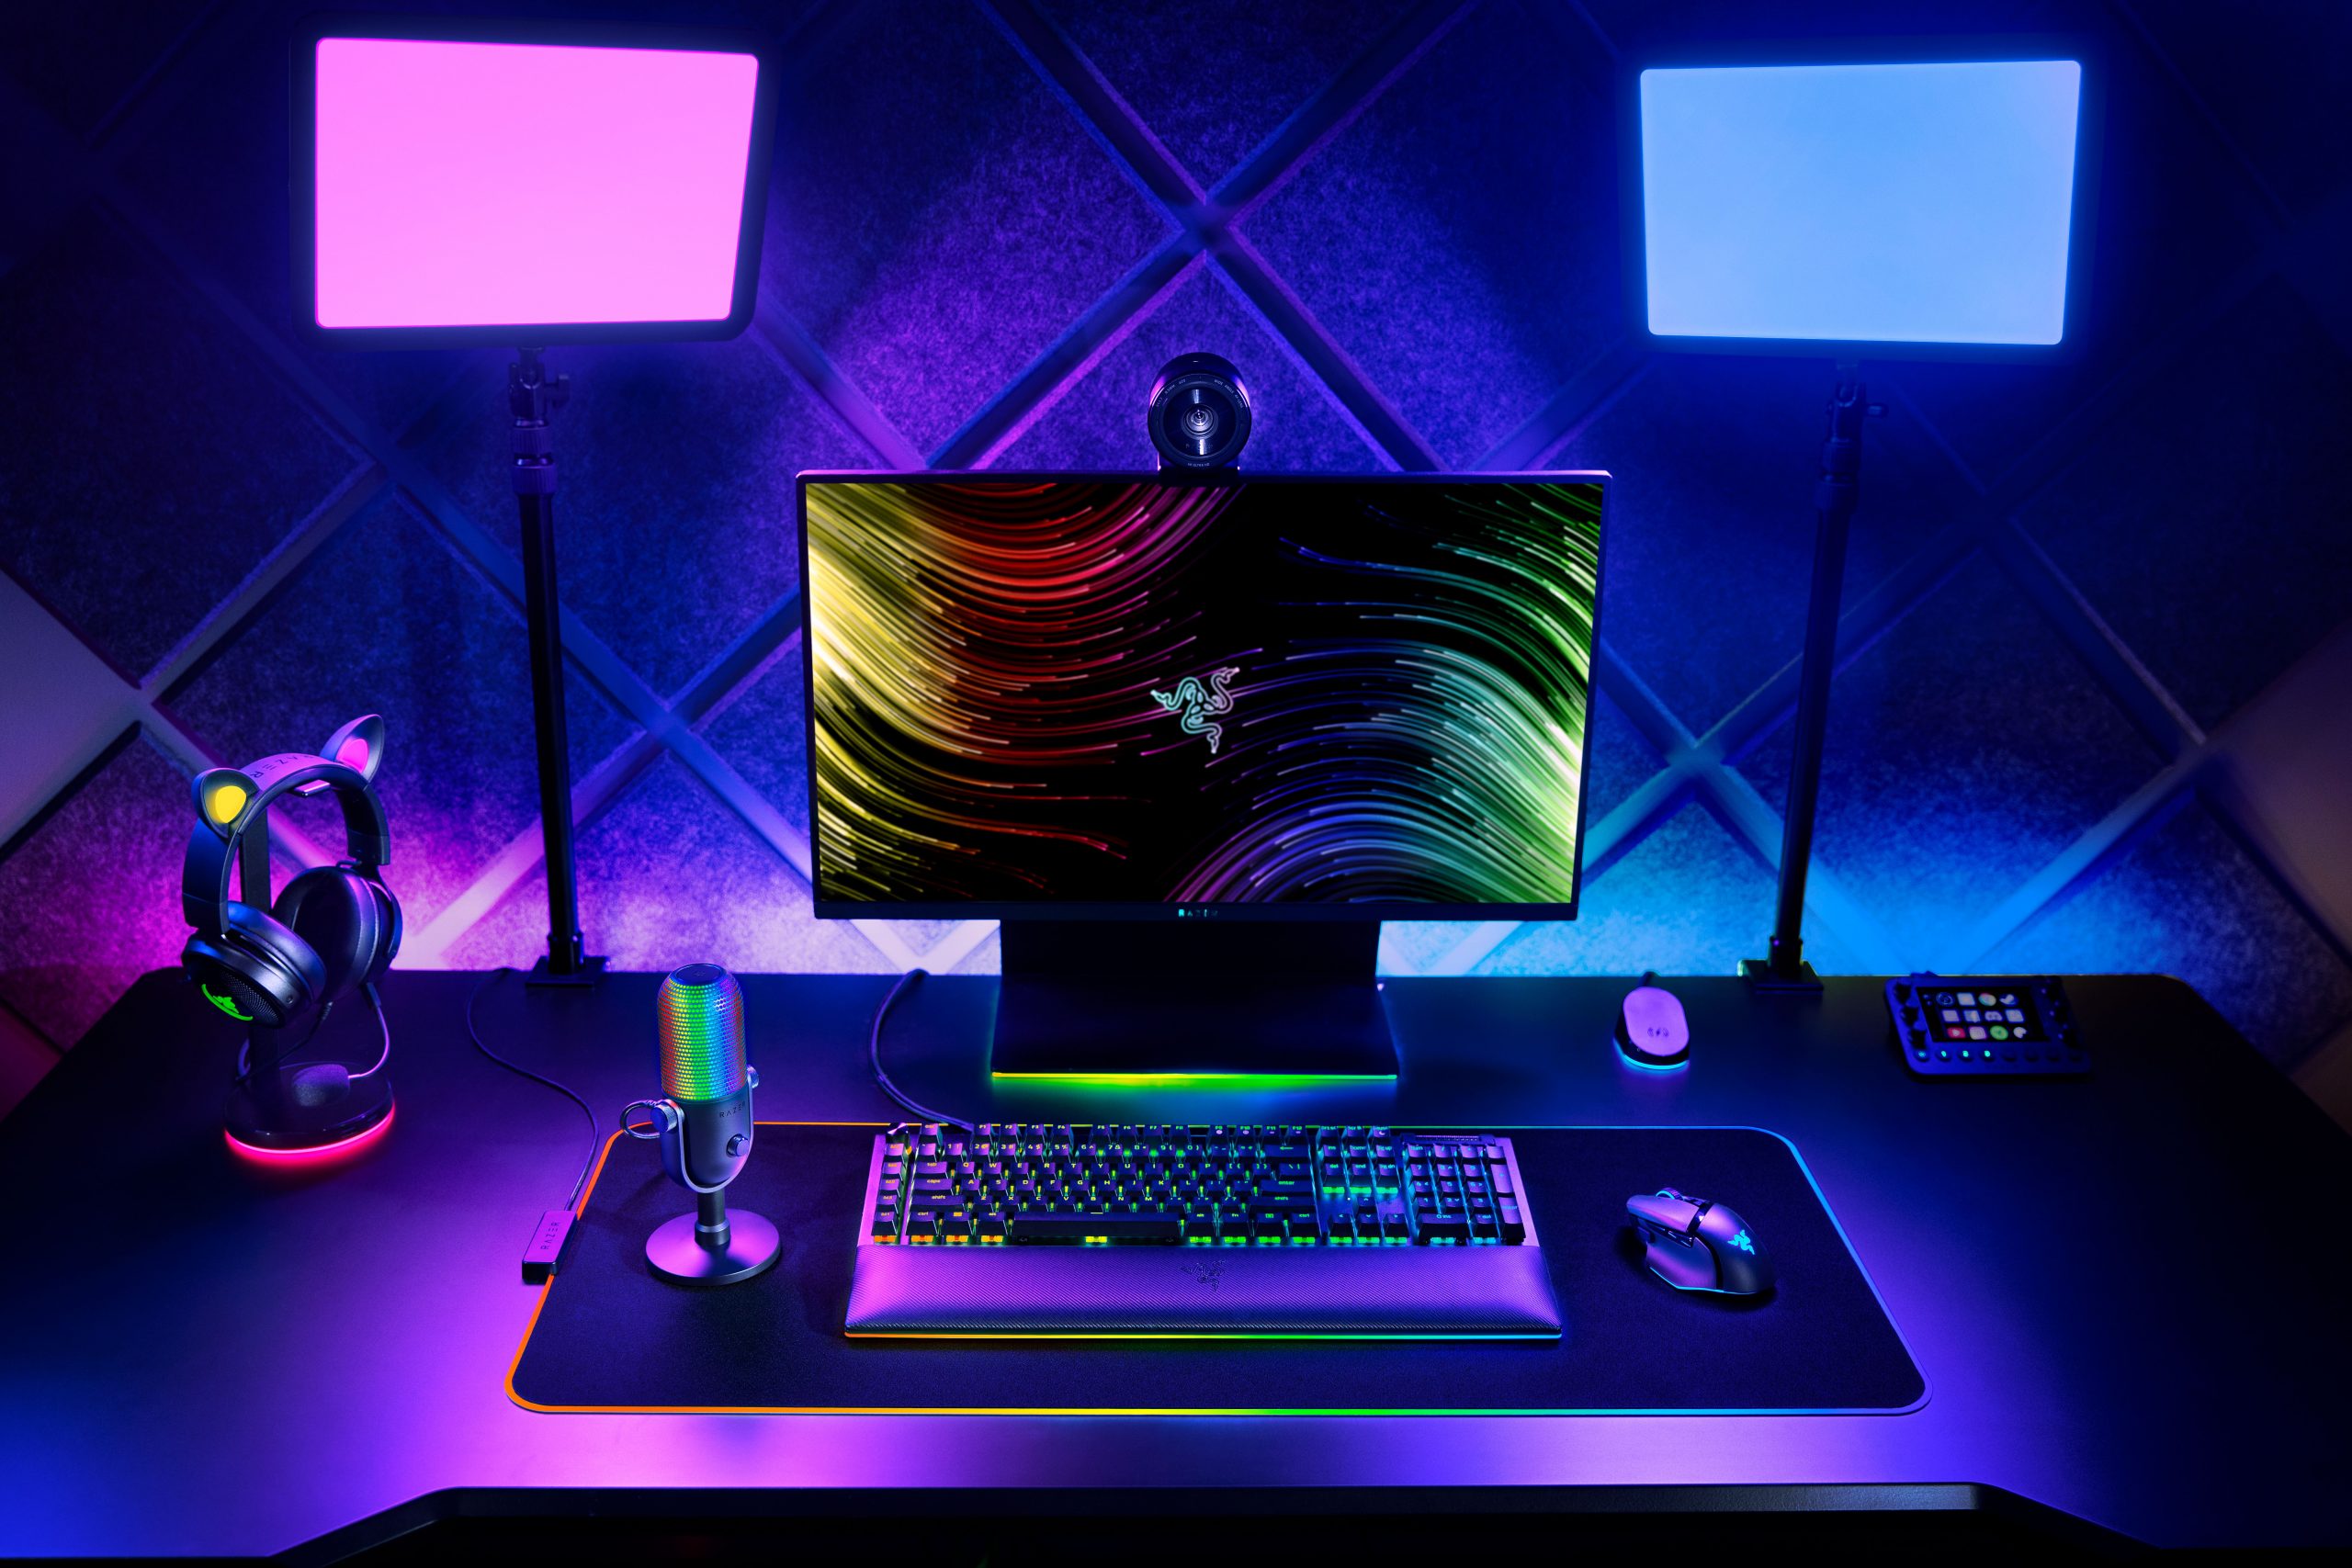
Setting up the technical foundation of your stream isn’t the end; it’s also important to consider how you’re building a professional-looking stream. The aesthetics of your stream should work towards visually engaging your audience and making you stand out as a streamer. With the right gear and setup, you will be able to elevate your stream’s quality and draw in more viewers.
As a beginner, investing in a few key essentials will make a world of difference. While it might be tempting to go all out and buy the most expensive gear from the get-go, we recommend starting with a simple but reliable setup—base-level but reliable equipment that will serve you well. Your progression, both in terms of gear and overall stream quality, will naturally follow as you grow and succeed as a creator. Many accomplished streamers started with the essentials and upgraded their setup over time as their audience and streaming needs evolved.
To help with this, we’ve curated a list of robust streaming peripherals that will be sure to give you a solid foundation in streaming.
Camera (and Lighting): Razer Kiyo
It’s easy to underestimate how important lighting is in creating a high-quality stream. Poor lighting can make your face-cam look grainy, blurry, or unprofessional—and that may be enough to immediately turn viewers off. In contrast, good lighting will make your stream look polished and increase your face-cam’s visibility. How visible you are on stream is vital because viewers want to feel connected to you, and being able to see your facial expressions and reactions clearly helps to create a more engaging experience for them.

For this, the Razer Kiyo is an easy recommendation because it’s been specifically designed with streamers in mind: the 1080p webcam has a built-in adjustable 5600 K daylight-balanced ring light that provides optimal lighting in almost any environment. Whether you want to stream in a dark room or during the day, the Kiyo is going to give you powerful control over your lighting conditions, making sure that you always look your best. With its plug-and-play functionality, the Kiyo is ready to use immediately upon connecting to your computer, making it incredibly easy to set up. Its compact design also helps forgo the need for extra lighting gear, making it the perfect choice for a beginner.
Camera Tips:
- Position your camera at eye level to create a more natural and engaging view for your audience. Placing the camera too high or low may create awkward angles.
- Be mindful of what’s in your background. A clean, organized space maintains focus on you. If you really want, pleasing décor can also add professionality to your space.
- Place yourself slightly off-center so that there’s space for stream notifications like chats or alerts. Adjust yourself accordingly to the game you’re playing, which may have different on-screen elements that your face-cam or stream chat may obstruct.
Lighting Tips:
- Position your lighting so that the light is directed at your face from the front. Avoid overhead or side lighting, which creates uneven shadows.
- Adjust your lighting’s intensity; too much brightness can wash out for features.
- Using RGB or ambient lighting in the background can help enhance your stream’s aesthetics and give your stream a more ‘gamer’ look that some viewers are drawn to.
For more information on Razer webcams and lights, as well as how to optimize them to look your best, check out this video below.
Microphone: Razer Seiren V3 Mini
While video quality is important for a streamer, your audio is arguably even more essential. Viewers might tolerate a lower-quality video feed, but poor audio is often the dealbreaker. Your voice is, after all, the primary way you communicate with your viewers and communicate your personality. Having a high-quality mic ensures that you’re always heard clearly and crisply.
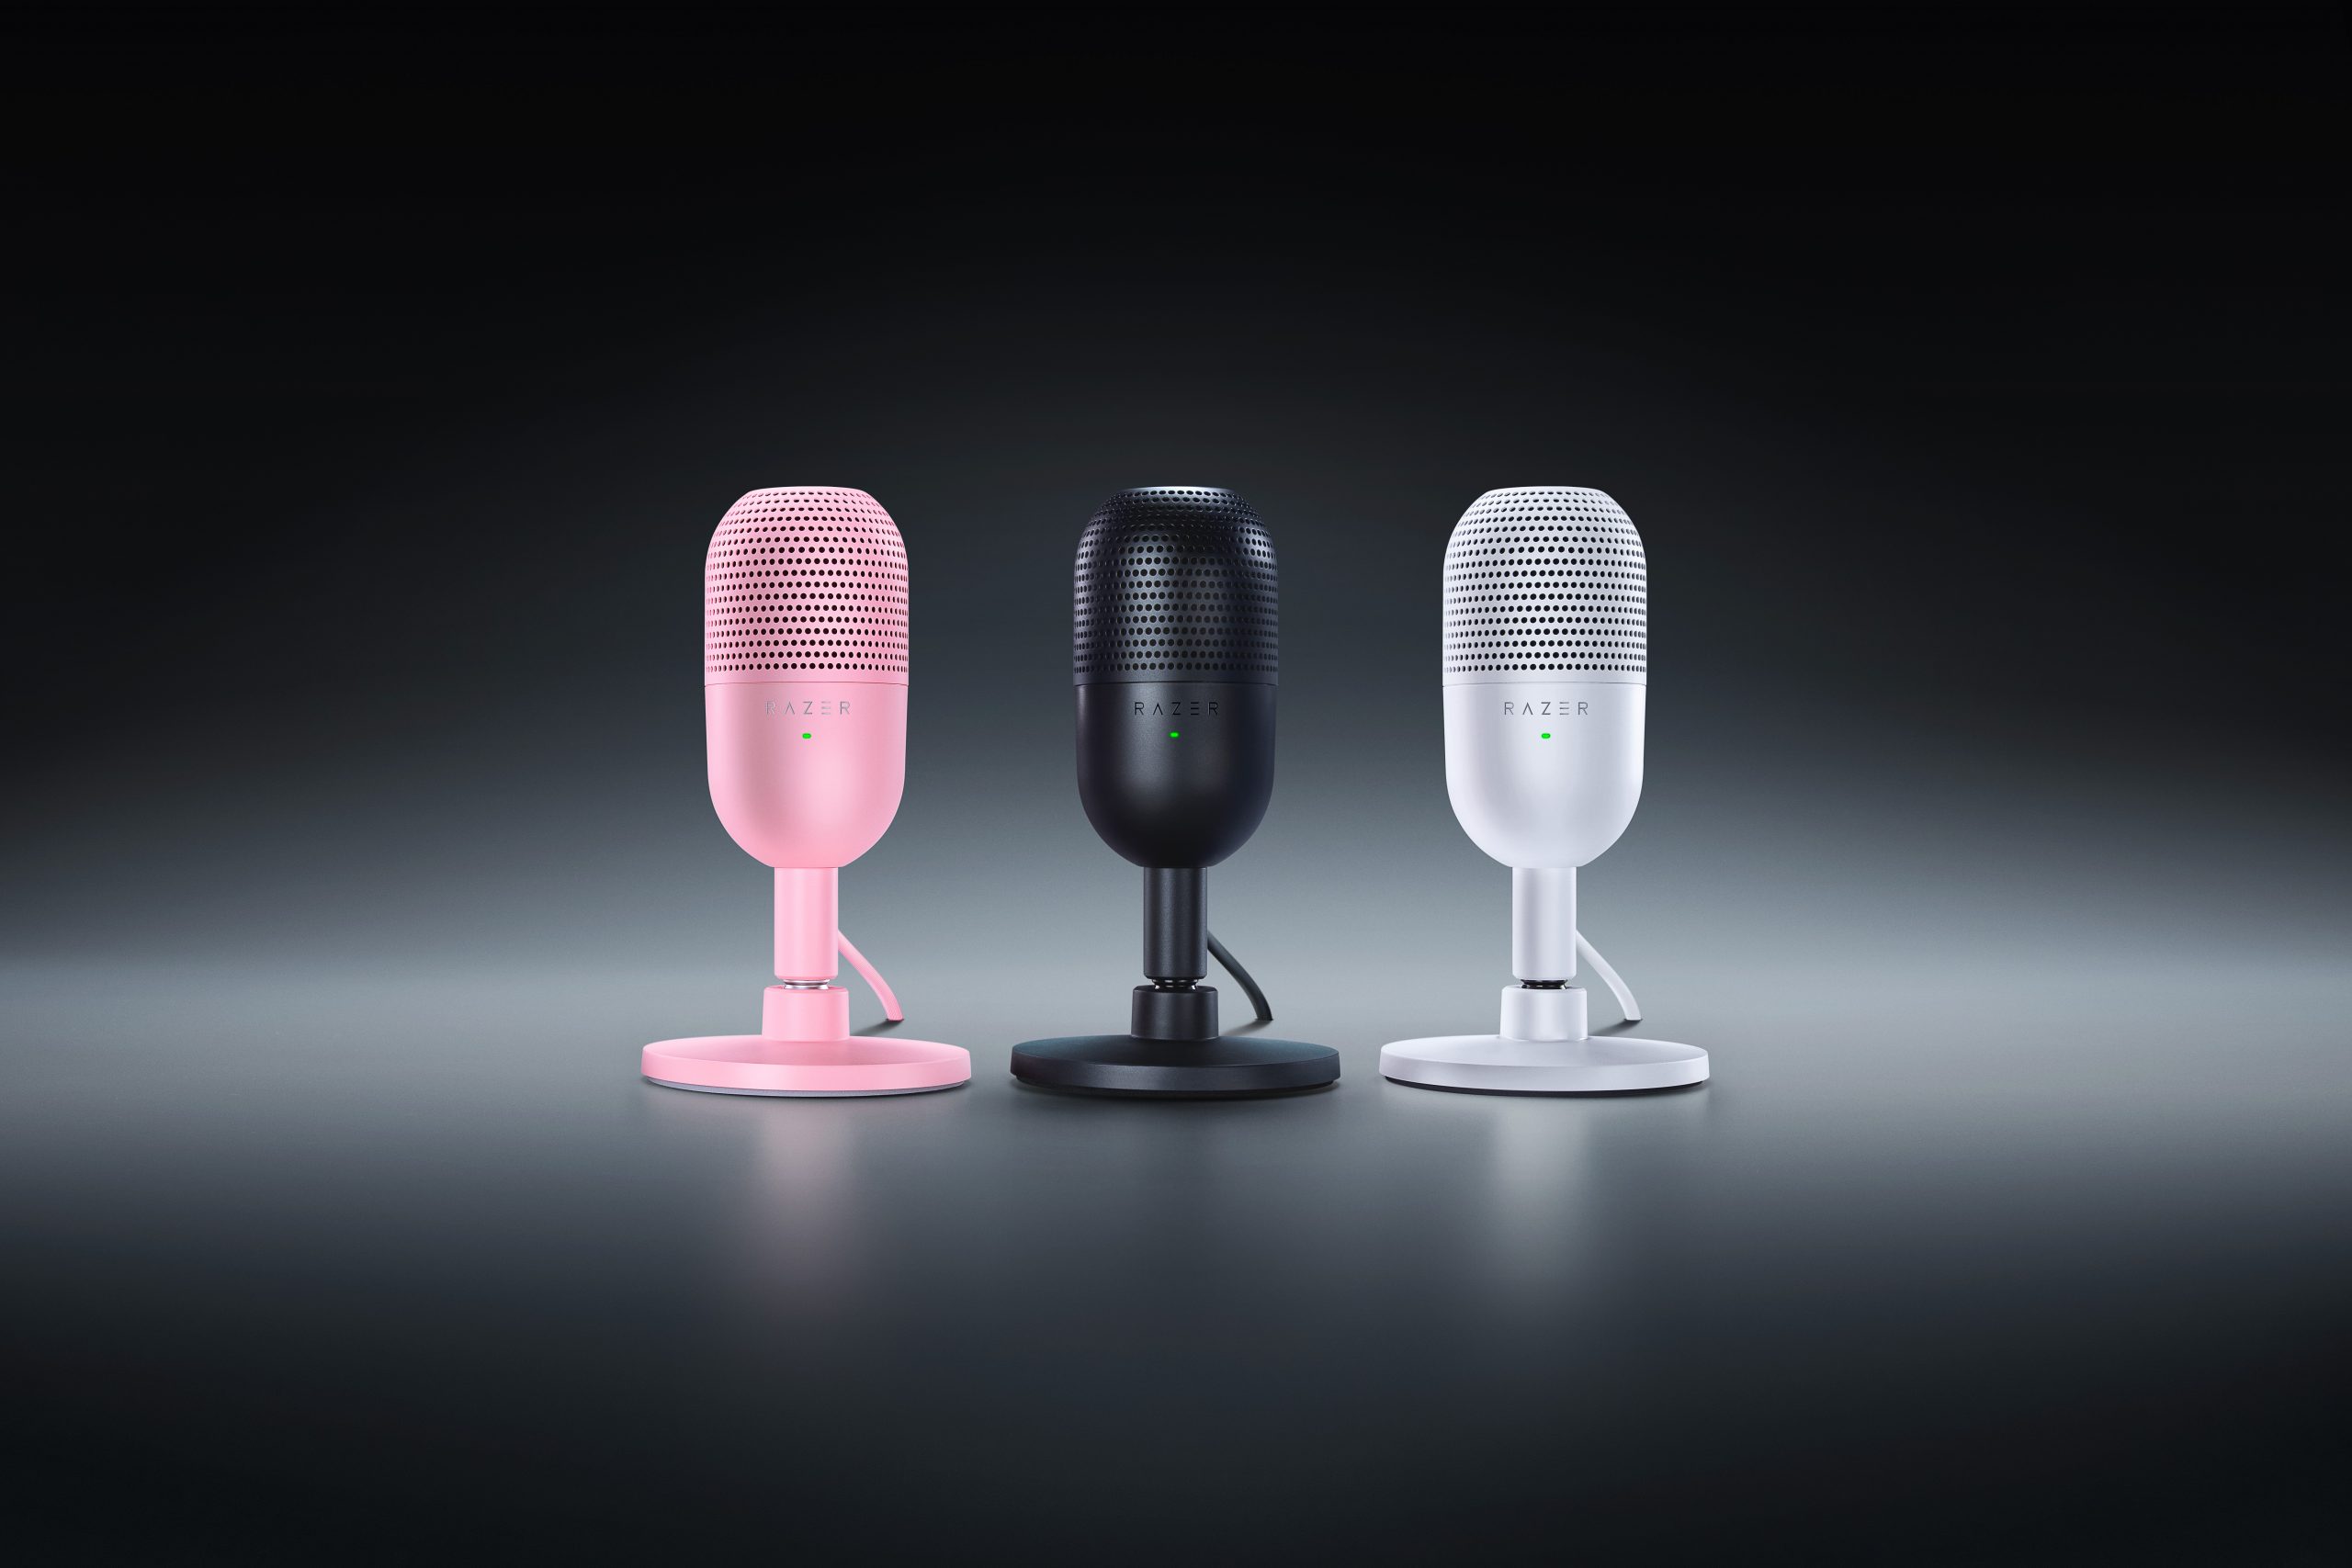
A fantastic choice for beginner streamers looking to improve their audio without breaking the bank is no doubt the Razer Seiren V3 Mini. It’s compact and affordable, but still delivers top-quality sound by efficiently filtering out background noise and enhancing vocal clarity. If you have no access to soundproofed setups and are in an environment that’s prone to auditory interruptions, the Seiren V3 Mini’s noise filtering features become all the more imperative. Its plug-and-play functionality makes it easy to set up, so you can start streaming right away without any hassle. The Seiren V3 Mini’s tap-to-mute function also adds convenience by allowing you to quickly silence your mic with just one tap—perfect for moments when you need to cough or adjust your setup without disrupting the stream.
Microphone Tips:
- Avoid placing your mic too close to your mouth as that can cause audio distortion.
- Use mic tests online, which play quick recordings of your mic back to you so that you can hear how you sound.
- Regularly monitor your audio levels to ensure that your voice isn’t too loud or quiet compared to your game audio and stream alert sounds.
Branding and Personality
People tune into streams not just for the content, but to connect with streamers who are funny, relatable, entertaining, inspiring, grounded, and so much more. Of all the things, it’s going to be your personality that acts as your brand—something that viewers recognise and draws them back to your stream over and over again. Whether you’re high-energy and expressive, witty and charismatic, calm and insightful, laid-back and down-to-earth, or anything in between, it’s important to find your authentic self and embrace that.
Viewers are drawn to streamers who feel genuine, and never underestimate their ability to detect insincerity or forced personas. While it may feel tempting to emulate popular streamers, viewers will be more likely to return if they feel like they’re engaging with the real you. We’ll go more into detail on how to engage your viewers in Step 5.
Outside of a streamer’s personality, their aesthetic choices can also help to supplement their brand. You want to stand out—especially amidst a crowded streaming space. Many streamers embrace the ‘gamer’ look by incorporating RGB lighting, branded headphones, or immersive background setups. If you only have a few seconds to strike an impression on a first-time viewer just dropping into your stream, the visuals of your setup must pack enough of a punch to persuade them that your stream is worth lingering a while longer on.
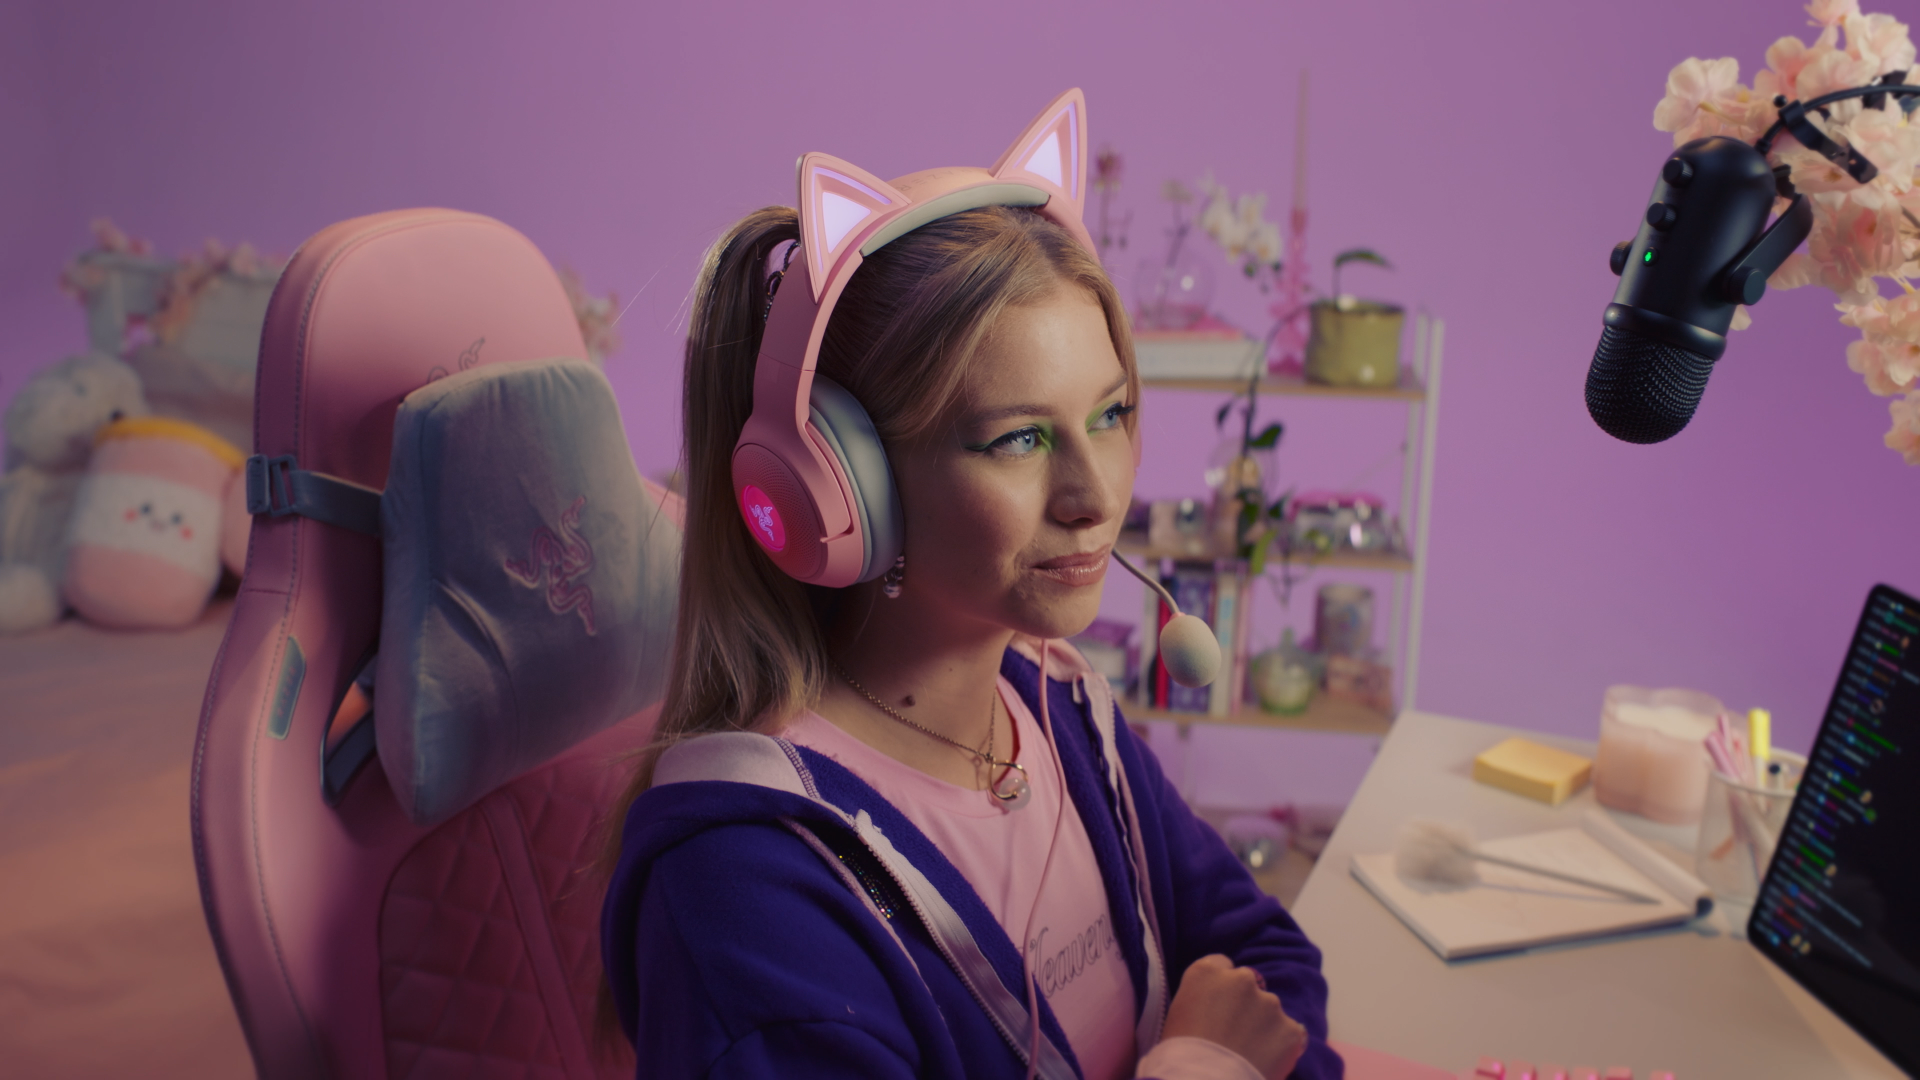
And in this, nothing is more iconic than the Razer Kraken Kitty headsets. The unique Kitty-themed headset has become a prominent cultural marker among popular gamer girls, designed not only for excellent sound quality, but also doubling as a bold, quirky fashion statement. If you want a recommendation, the Kraken Kitty V2 BT headset will provide you with a high-quality, wireless audio experience. It also has Chroma RGB lighting settings that can be customized to reflect your mood, content—or even tuned to respond to audience engagement like stream alerts.
The Kraken Kitty is just one example of how your visual setup can make a memorable first impression, but the key takeaway here is that your stream’s aesthetic can play a huge role in making your stream look professional and attractive. From lighting to your mic quality, your setup is going to set the tone for your stream and form the foundation for your personality to shine.
Step 4: Planning Your Streaming Schedule
One of the most common rookie mistakes that beginner streamers make is not planning their streaming schedule—don’t overlook this step! Consistency goes a long way in fostering a loyal viewer base; when your viewers know exactly when you’ll be live, they’ll be able to plan their schedules around your stream, and this will enable you to transform casual drop-in viewers into dedicated regulars.
Regularity is not the only factor to consider; you must also find the right time. Not all time slots are created equal, so it’s important to research the peak streaming hours on the platform you’re choosing to stream on. Still, even though it’s important to understand when most viewers are active, it might also be wise to avoid highly competitive time slots where popular streamers are going to dominate. Ultimately, you’ll have to experiment with different slots to discover when your own viewership is the most active.
Step 5: Engaging Your Audience
Creating a connection with your viewers might very well be the heart of streaming. As you might expect, the more engaged your audience feels with you and your stream, the more likely they are to stay, to return, and to participate. Building your own community of viewers is going to take effort—and that starts with nurturing an inviting atmosphere in your chat. Viewers want to feel like they’re hanging out with a friend, and that’s how community is formed.
The first and most important thing you must do is to talk to your viewers! Reading and responding to the chat is a skill that all streamers will need to develop—just like gaming mechanics, it takes practice, and you’ll get better and better at it as you go. Actively train yourself to glance over and read the stream chat every so often—while simultaneously focusing on your gameplay. If you can respond to your viewers promptly and regularly, they will feel seen and heard. Simple shout-outs to familiar names entering the chat, reading out and reacting to funny comments, responding to questions—all of these go a long way in building rapport with your audience.
Starting out, you’ll likely only have a few viewers. It’s easy to feel discouraged—but remember that it’s going to take time for your viewership to build. Always stay enthusiastic and engaged; talk as if you have a large audience, keep your energy high, and actively commentate on what you’re doing in the game. If anything, you could even regard this beginning period of low viewership as a good thing: it’s the perfect opportunity for you to experiment, refine your interaction style, and acclimatise to responding to a chat that’s only going to get busier as your audience base grows.
The Stage is Set: Time to Go Live
And that concludes our guide! We’ve covered everything from choosing the right platform and setting up your gear to building an engaging stream and growing your audience. By now, you should have a solid foundation to help kickstart your streaming journey.
But remember, no matter how much you prepare, the most important step is to start. The journey to success is going to take time, dedication, and consistent effort. After all, every successful streamer started somewhere, usually with a small audience, modest gear, and a lot of trial and error. So, focus on learning, experimenting, and most importantly, never forget to have fun—because that’s what matters most.
Now, head out there, streamer-to-be! We’re rooting for you here at Razer—where we shape experiences by gamers, for gamers—and we hope our guide has been useful and informative. GLHF!